Last week I stopped by the craft store, Michael's, to pick up wrapping paper and ribbon for a wedding gift. Of course, it is almost impossible to walk out of there without buying supplies for a D.I.Y. project and that trip was no different. As soon as I walked in, I noticed all the monogrammed items in the bargain bins and thought it would be fun to add the initial of the bride and groom's new last name to the gift packaging. One thing led to another and I ended up creating a piece of D.I.Y. monogram art. In the photo you can see that I tied it into the ribbon on top of the wrapped gift.
This was an incredibly easy and cheap project and I am looking forward to creating a piece for my apartment with the initial of my first name. The best part is that there are infinite options for customization because you can choose whatever paint and paper options you like.
This was an incredibly easy and cheap project and I am looking forward to creating a piece for my apartment with the initial of my first name. The best part is that there are infinite options for customization because you can choose whatever paint and paper options you like.
 | First off, here's the list of supplies with the prices I paid at my local Michael's: -Acrylic paints: 2 for $1 -Unfinished wood 4x6 frame: $1.99 -Unfinished wood letter: $1.49 -12"x12" sheet of scrapbooking paper: $0.59 You will also need glue, Mod Podge, and paint brushes. If you don't have Mod Podge at home, you can create it by combining glue with water in a 2:1 ratio. (Since most people have glue and paintbrushes at home, I did not add those costs to the project total.) I had a 25% off coupon so the total for this project came to only $3.80. The sheet of scrapbooking paper is large enough to turn into six 4"x6" pieces and I had leftover paint. If you wanted to create more letters within frames to spell out a word or name, you would only need to buy extra wood pieces. |
The steps to create this are very simple. First remove the glass and backing from the frame. Paint the wood frame and the wood letter in your preferred paint color(s). I did two coats of paint to get the desired coverage.
While the paint is drying, attach a 4"x6" piece of scrapbooking paper to the backing of the frame with Mod Podge. To create a slightly glossy finish, cover the visible side of the scrapbooking paper in Mod Podge as well. Don't worry, it will dry clear. Once the paint dried, I also added a coat of Mod Podge to both the letter and the frame for a similar glossy finish throughout.
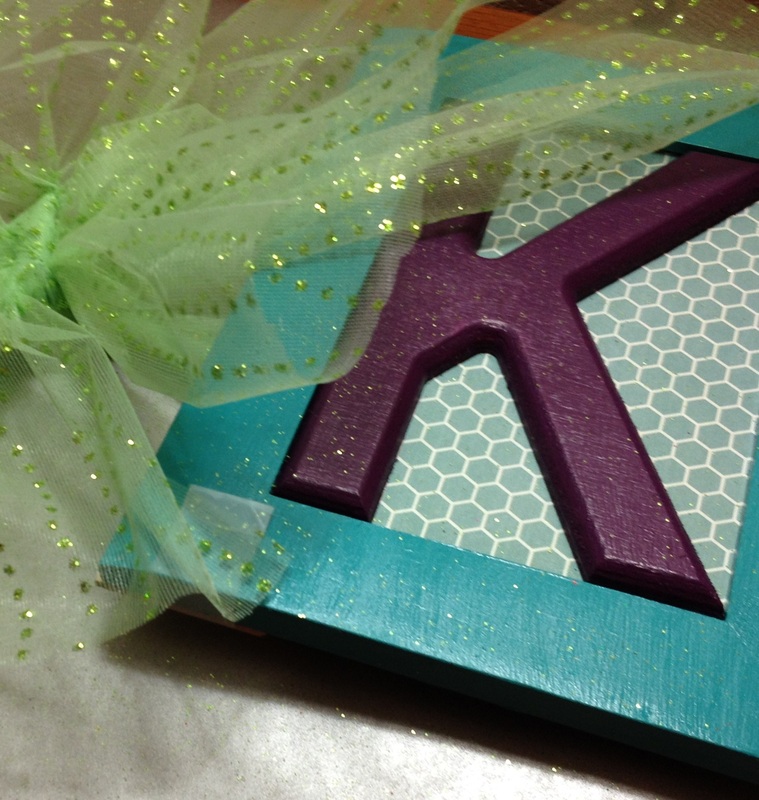
When all the components are completely dry, put the frame back together (leaving out the glass) and then glue the letter into the opening. Then you are ready to display it on a shelf or on the wall!
While the paint is drying, attach a 4"x6" piece of scrapbooking paper to the backing of the frame with Mod Podge. To create a slightly glossy finish, cover the visible side of the scrapbooking paper in Mod Podge as well. Don't worry, it will dry clear. Once the paint dried, I also added a coat of Mod Podge to both the letter and the frame for a similar glossy finish throughout.
When all the components are completely dry, put the frame back together (leaving out the glass) and then glue the letter into the opening. Then you are ready to display it on a shelf or on the wall!
 RSS Feed